Rob Patrick Project 2: Laser cutter
Design and Planning
Project number two began with a Fusion sample tutorial, which demonstrated how to design for laser cutter fabrication. Watching the tutorial taught me the software, and equally important, gave me the insight of what is possible with the materials and tools as well as some possible constraints I might encounter. The material provided for the project was 1/4-inch plywood, which was to be crafted into a box or lightweight storage container. The Rayjet 500 would be used for cutting the parts from the plywood. For my project, I decided to build a tool/parts tray to use in my garage. When working on anything, it's often helpful to have a lightweight container to hold small hardware and tools together in one place, preventing accidental loss or random misplacement. Prior to starting the design in Fusion, I sketched the box on paper and determined the basic dimensions.
Execution
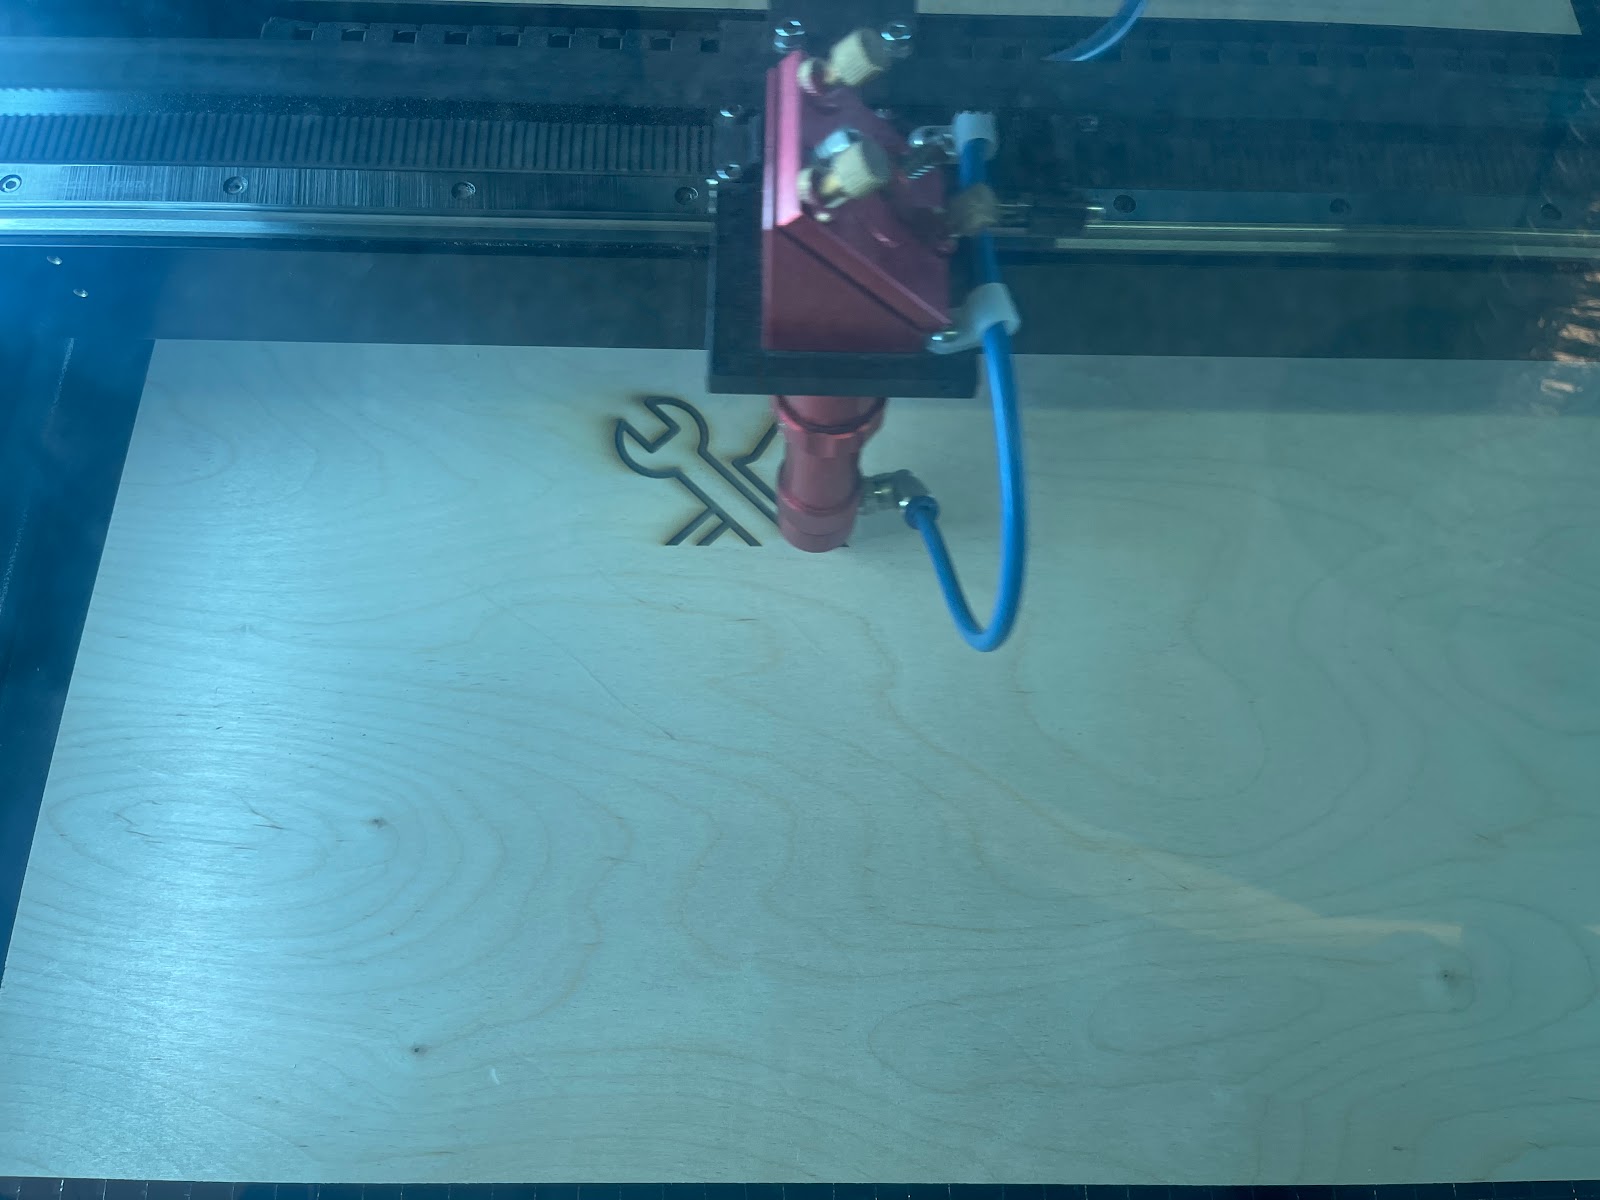
Following the tutorial, I replicated several of the design techniques and completed my box design in Fusion. From there, the file has to be converted into a .DXF file and imported into Adobe Illustrator in order to 'print' to a laser cutter. Once the recommended settings were entered, the laser cutter went to work. I found a simplistic tool image on the web and imported it into the Illustrator file for engraving on the box. The laser cutter began working on the engraving first. This part took the longest time, and after it was complete the box pieces were cut out in relatively short order. Due to the burning process I noticed discoloration on the back side of the pieces and around the engraving. To clean this off I simply used an orbital sander to clean and smooth all the surfaces. Given that wood glue would be needed to attach the parts, I also considered using a pneumatic stapler to hold the pieces in place. I did a test fit and noticed that some of the pieces were bowed and would need clamping to secure while gluing. After a few practice shots with the stapler I decided not to use it because the material was too thin and would risk misplacing the staples and exposing them or damaging the wood surface. Finally, I placed glue on all the connecting tabs, assembled the box, then clamped it on the corners and waited for the glue to dry.
Outcomes
This project was relatively basic from design through execution. Having practiced with the tutorial sample in Fusion, I was able to complete my design in little time and with few errors. When errors were made, I found that I had too little knowledge about how to correct it other than just using the 'undo' command until it was right again. The laser cutter was a vast time and precision improvement over hand tools used for Project #1. However, I am less impressed with the quality and form of the finished product. With any design, it's important to consider the desired outcome and match it to the right tool for the job.


Comments
Post a Comment